|
A Hatra Ballista Spring frame is a bit different from a Straight or V spring ballista.
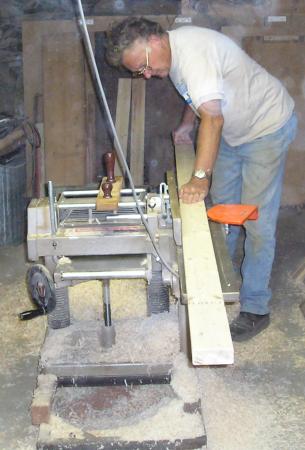 As I was building this machine with my Dad who is a cabinet maker, we started this
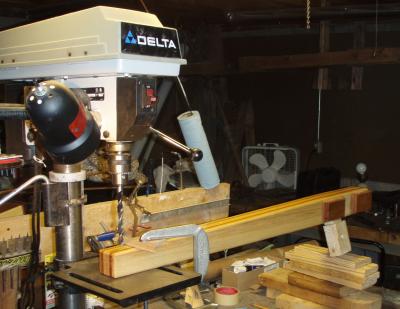
project on the jointer-planer, making sure all the beams were straight, and the same size.
This was step one of turning a 2x4 into a mighty beam.
As I was building this machine with my Dad who is a cabinet maker, we started this
project on the jointer-planer, making sure all the beams were straight, and the same size.
This was step one of turning a 2x4 into a mighty beam.
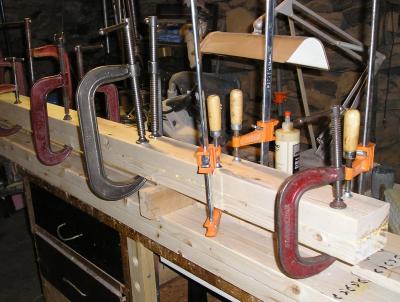 Step two was the laminate them together with lots of glue, and lots of clamps.
The original Hatra design was made from large timbers fitted together with mortise and tenons.
Laminating the 2x4s was a bit more time consuming, but results in a stiffer beam.
These long beams were needed for the extra wide Hatra spring frame.
Step two was the laminate them together with lots of glue, and lots of clamps.
The original Hatra design was made from large timbers fitted together with mortise and tenons.
Laminating the 2x4s was a bit more time consuming, but results in a stiffer beam.
These long beams were needed for the extra wide Hatra spring frame.
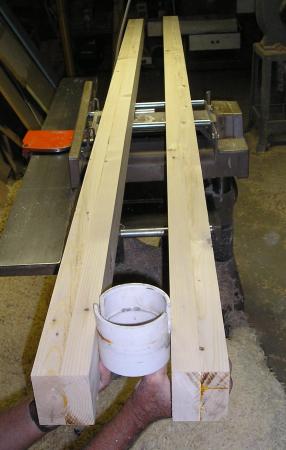 After the first day, a sneak peak at how the rope sleeve for one torsion bundle might sit
in this, the upper main beams of the Hatra Frame.
After the first day, a sneak peak at how the rope sleeve for one torsion bundle might sit
in this, the upper main beams of the Hatra Frame.
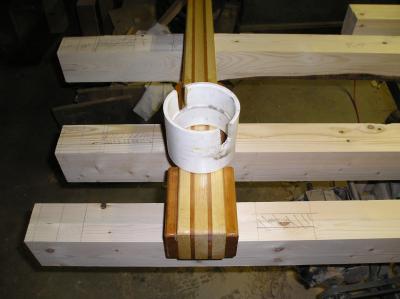 Another fitting with the arm resting where it may lie, plus markings were up coming mortises
need to be drilled.
Another fitting with the arm resting where it may lie, plus markings were up coming mortises
need to be drilled.
Figuring out where the arm will be at rest, and during pullback, and laying out the tenons to
provide the correct stopping points took a bit of fiddling.
 After using the drill press to get the correct depth and basic shape, all the mortises for
the main stanchions (uprights holding the upper and lower spring frame apart) needed to be
cleaned up with hand chisels. There are 8 large mortises and tenons to be cut.
After using the drill press to get the correct depth and basic shape, all the mortises for
the main stanchions (uprights holding the upper and lower spring frame apart) needed to be
cleaned up with hand chisels. There are 8 large mortises and tenons to be cut.
 The tenons were cut on a table saw, and smoothed up with hand planes. Once all that was done
we fit each beam end with particular mortises. Fortunately, the jigs we set up let us fit any
tenon to any mortise, and each fit was nice and snug.
The tenons were cut on a table saw, and smoothed up with hand planes. Once all that was done
we fit each beam end with particular mortises. Fortunately, the jigs we set up let us fit any
tenon to any mortise, and each fit was nice and snug.
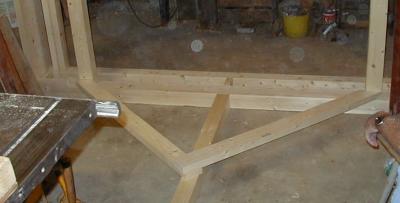
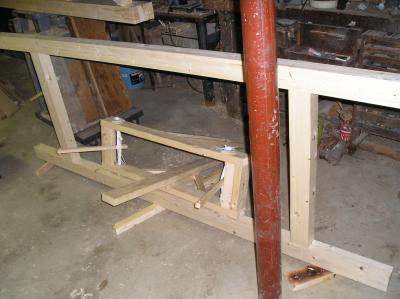 Half the spring frame already is pretty large, and it was hard to get a picture in the basement
without something getting in the way. Here is the first half of the frame together with the
original Baby Hatra Ballista inside as reference for the scale change.
Half the spring frame already is pretty large, and it was hard to get a picture in the basement
without something getting in the way. Here is the first half of the frame together with the
original Baby Hatra Ballista inside as reference for the scale change.
 The front and back halves of the Hatra spring frame needed to be held apart by 4 inches, which
is the diameter of the rope sleeve for the torsion bundles. This is done via 6 small blocks
which are attached with two mortise and tenons per side. 6 blocks, 2 ends each with 2 tenons is
24 mortise holes to cut. This was a very long process.
The front and back halves of the Hatra spring frame needed to be held apart by 4 inches, which
is the diameter of the rope sleeve for the torsion bundles. This is done via 6 small blocks
which are attached with two mortise and tenons per side. 6 blocks, 2 ends each with 2 tenons is
24 mortise holes to cut. This was a very long process.
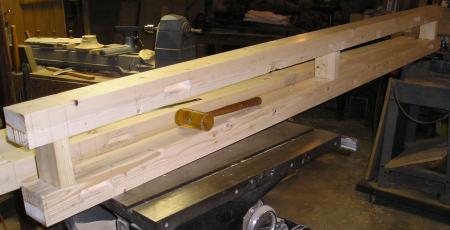 By the end of that day, we had most everything cut, and one pair of beams fitted together.
 After making two stanchions for the outer edge, we were able to clamp the main frame together for a good look see.
The next step was to make the end caps which would hold the machine together.
After making two stanchions for the outer edge, we were able to clamp the main frame together for a good look see.
The next step was to make the end caps which would hold the machine together.
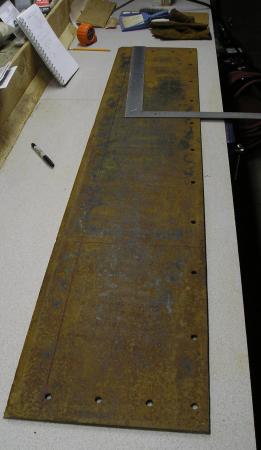
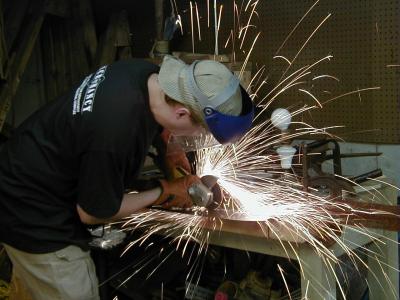 First, I had to take a piece of scrap plate at 1/16th of an inch thick, and cut off strips.
I clamped the plate to a table with a bit of channel as a guide and ran the grinder cutting
wheel down the length. This worked pretty well, though I drifted a bit, and one of the pieces
was a bit narrow on one end.
First, I had to take a piece of scrap plate at 1/16th of an inch thick, and cut off strips.
I clamped the plate to a table with a bit of channel as a guide and ran the grinder cutting
wheel down the length. This worked pretty well, though I drifted a bit, and one of the pieces
was a bit narrow on one end.
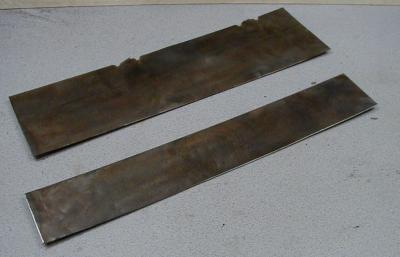 The plates I cut for the top of the Hatra were the same width as the beams so that it wouldn't get
in the way when lifting the frame.
I left the plates for the lower beam wider, though you can see the remains of whatever industry had
cut off the plate before I got a hold of it.
The plates I cut for the top of the Hatra were the same width as the beams so that it wouldn't get
in the way when lifting the frame.
I left the plates for the lower beam wider, though you can see the remains of whatever industry had
cut off the plate before I got a hold of it.
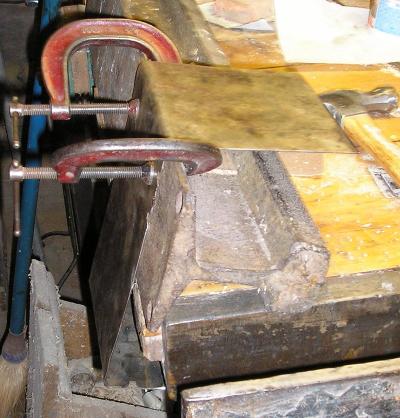 After using some lag bolts to hold the the frame tightly together, the metal was measured against the frame,
and bent
into big end caps via various methods. Eventually, I found the old railroad rail and clamps
worked pretty well to get things bent over and straight.
After using some lag bolts to hold the the frame tightly together, the metal was measured against the frame,
and bent
into big end caps via various methods. Eventually, I found the old railroad rail and clamps
worked pretty well to get things bent over and straight.
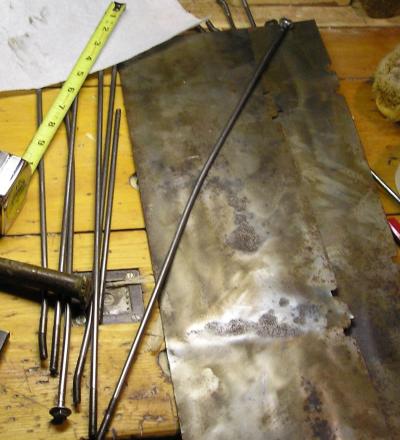 Another important item were these long rods, or spokes. They came out of the spool that Mista Ballista's rope
was delivered on. These spools were badly abused as they were knocked about with the rope on them. The spools
became trash, but upon disassembling, useful bits emerged.
Another important item were these long rods, or spokes. They came out of the spool that Mista Ballista's rope
was delivered on. These spools were badly abused as they were knocked about with the rope on them. The spools
became trash, but upon disassembling, useful bits emerged.
These long rods were straightened, cut down to the correct length, and threaded.
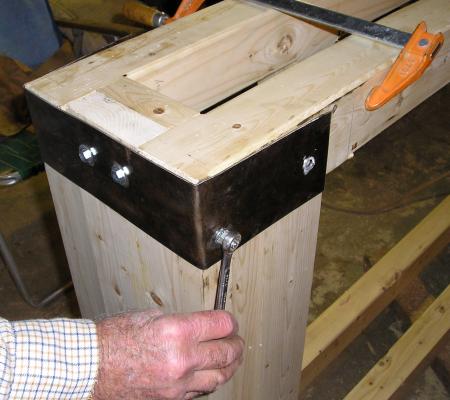 The end cap was then fit over the end of the spring frame, and long lag bolts were driven into the ends
through the outer stanchion of the frame, and into the small structural beam that spaces the front and
back of the spring frame.
The end cap was then fit over the end of the spring frame, and long lag bolts were driven into the ends
through the outer stanchion of the frame, and into the small structural beam that spaces the front and
back of the spring frame.
The long threaded rod was driven through the front and back beams, plus through the top of the outer stanchion
beam, and finally through the end cap. Tightening up the nut clamped this frame together very tightly, and
added a lot of stiffness into this joint. Two more lag bolts will hold the end of the cap in place farther in
on the spring frame.
In this picture, a nut is being tightened on the long threaded rod which holds the front and back together, doing
the work of the orange clamp in the upper right of the picture.
Only 3 more end-caps to go!
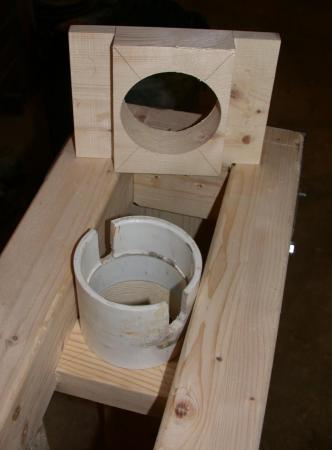 In order to hold the rope sleeve in place, a special interface plate needed to be cut to fit inside the
gap between the front and back spring bundle frames. This will allow the sleeve to spin freely, while it
acts as a bushing between the scutula and modiolus, and will prevent it from falling out the bottom.
In order to hold the rope sleeve in place, a special interface plate needed to be cut to fit inside the
gap between the front and back spring bundle frames. This will allow the sleeve to spin freely, while it
acts as a bushing between the scutula and modiolus, and will prevent it from falling out the bottom.
 After test fitting, everything was taken apart, and my Dad started varnishing the wood. The winter months
went by, then we finally got together again for final assembly. This is the varnished and sanded spring frame
assembled and without any metal parts.
After test fitting, everything was taken apart, and my Dad started varnishing the wood. The winter months
went by, then we finally got together again for final assembly. This is the varnished and sanded spring frame
assembled and without any metal parts.
To protect the frame and the arms from the hard impacts of a torsion launch, metal arm-stop holders were made.
In addition, adding this pad allows the rope bundle to help slow down the arm at the end of the swing and cuts back
on the amount of whacking that happens on the thinner part of the arm.
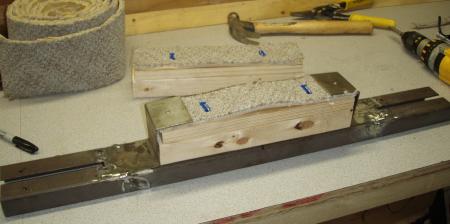 Here you can see the raw welded frame and holders for the wooden blocks. Some wood was stacked to the right thickness,
and carpet stapled on top.
Here you can see the raw welded frame and holders for the wooden blocks. Some wood was stacked to the right thickness,
and carpet stapled on top.
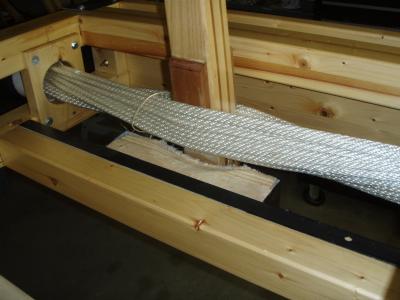 The arms and rope were thick in the middle, so I had to scallop the edge of the wood and metal a little to provide
plenty of space for the arms to be pulled back.
The arms and rope were thick in the middle, so I had to scallop the edge of the wood and metal a little to provide
plenty of space for the arms to be pulled back.
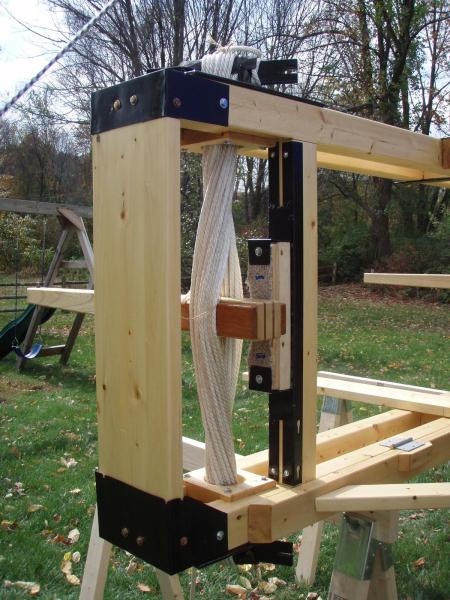 Arm stop in action. You can see the scalloping a little in this picture also, plus the nice coat of black paint.
See the Scapus page for more on how the spring frame attaches to the
rest of the system.
|
Additional Pages for Hatra Jr
|
|
Hatra Ballista Jr
|
 After building and testing Baby Hatra Ballista, it was clear this design was
worth pursuing. Eric decided we needed a mid-sized model which we could then
enter into the World Championship Punkin Chunk in the 10 and under category.
After building and testing Baby Hatra Ballista, it was clear this design was
worth pursuing. Eric decided we needed a mid-sized model which we could then
enter into the World Championship Punkin Chunk in the 10 and under category.
|
|
Hatra Ballista Jr: Spring Frame
|
A Hatra Ballista Spring frame is a bit different from a Straight or V spring ballista.
|
|
Hatra Ballista Jr: Scapus Frame
|
 There wasn't much to go on with historical references for the Hatra Ballista, just a meta spring frame
covering, and an artist's rendition in the book
Greek and Roman Artillery 399 BC-AD 363. As such, I opted to go with a mix of
what we did with Mista Ballista in metal, or Baby Hatra Ballista.
There wasn't much to go on with historical references for the Hatra Ballista, just a meta spring frame
covering, and an artist's rendition in the book
Greek and Roman Artillery 399 BC-AD 363. As such, I opted to go with a mix of
what we did with Mista Ballista in metal, or Baby Hatra Ballista.
|
|
Hatra Ballista Jr: Torsion
|
 The load bearing parts for Hatra Ballista Jr are very similar to what I made for
Onager Jr, though I've made several changes to help assist in the operation
and use of the machine.
The load bearing parts for Hatra Ballista Jr are very similar to what I made for
Onager Jr, though I've made several changes to help assist in the operation
and use of the machine.
|
|
Hatra Ballista Jr: Arms and Bowline
|
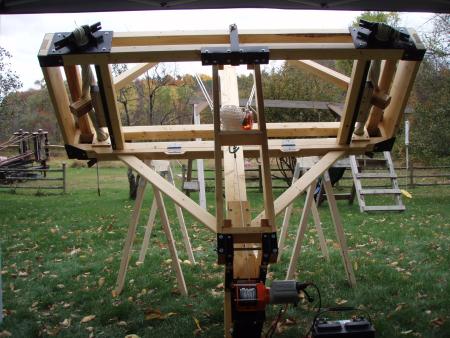
 A hatra ballista has inward swinging arms that allows for 90 degree's of rotation during the throw. Our model has 3 foot long
arms. For our first year, these arms were made particularly strong.
A hatra ballista has inward swinging arms that allows for 90 degree's of rotation during the throw. Our model has 3 foot long
arms. For our first year, these arms were made particularly strong.
|
|
Hatra Ballista Jr: Deployment
|
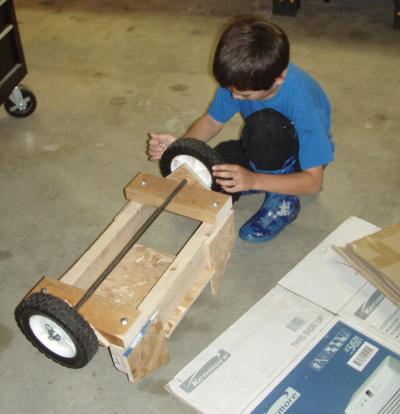 Hatra Jr is easy to deploy. That's one of the reasons it took so much extra time to build the thing.
|
|
Hatra Ballista Jr: Shooting
|
 Various pictures and stories of launching Hatra Ballista Jr.
|
| 
