|
The load bearing parts for Hatra Ballista Jr are very similar to what I made for
Onager Jr, though I've made several changes to help assist in the operation
and use of the machine.
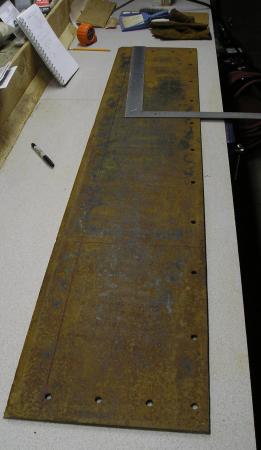 For the scutulas I chose 1/4" thick steel plate. I'm guessing this may have been
off one of those big snow plow blades based on the bolt holes cut into it, and the
sharpened edge. In any case, it needed to be measured and bisected.
For the scutulas I chose 1/4" thick steel plate. I'm guessing this may have been
off one of those big snow plow blades based on the bolt holes cut into it, and the
sharpened edge. In any case, it needed to be measured and bisected.
On Onager Jr, the equivalent part was a mere 1/16th of an inch thick. Over many years
of use, the plate has been badly deformed by the modiolii. This has resulted in it
being difficult to tighten up. I'm hoping the 1/4" plate here will resist deformation
in addition to adding to the over all strength of the hole carrier.
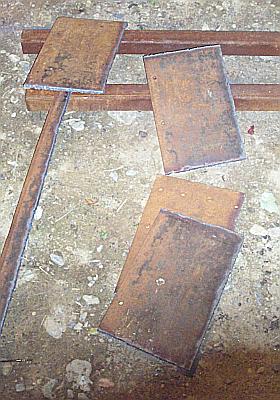 In any case, they needed to visit Dave's shop, and get cut up with the acetylene torch.
Despite using a guide, I think one these plates ended up a bit wider than intended.
In any case, they needed to visit Dave's shop, and get cut up with the acetylene torch.
Despite using a guide, I think one these plates ended up a bit wider than intended.
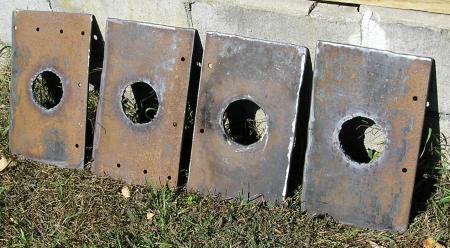 After torch cutting holes in them, they needed to be cleaned up. Torching out circles
seemed a bit challenging in this material, even with the nice hole template I used
which came from a leftover bit of Ballista Jr which used the same sized torsion bundle.
After torch cutting holes in them, they needed to be cleaned up. Torching out circles
seemed a bit challenging in this material, even with the nice hole template I used
which came from a leftover bit of Ballista Jr which used the same sized torsion bundle.
I used a grinder to clean up the mess, and used the rope sleeve till I got the hole
ground out to be just the right size.
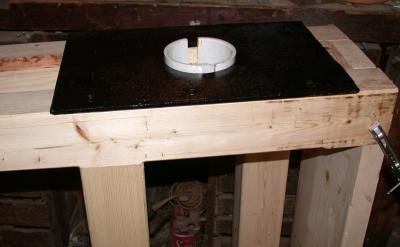 A quick coat of paint, and here is a mock up of how things may rest when the scutulas
are bolted onto the spring frame.
A quick coat of paint, and here is a mock up of how things may rest when the scutulas
are bolted onto the spring frame.
 The modiolii and epizygii started out as 5" channel, and some 1/2 inch thick bar stock.
The 3" PVC pipe connector has a 4" outer diameter, and 3.5" inner diameter which matches
the torsion bundle size of Onager Jr.
The modiolii and epizygii started out as 5" channel, and some 1/2 inch thick bar stock.
The 3" PVC pipe connector has a 4" outer diameter, and 3.5" inner diameter which matches
the torsion bundle size of Onager Jr.
 Using a Ballista Jr modiolus as a guide (it already had the correct size hole) we torch cut out holes
in short segments of the 5" channel.
Using a Ballista Jr modiolus as a guide (it already had the correct size hole) we torch cut out holes
in short segments of the 5" channel.
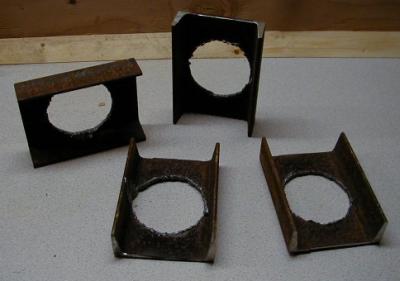 And here are the raw modiolii. The rough cut edges need to be ground off, and the holes enlarged slightly
to accept the PVC bushing.
And here are the raw modiolii. The rough cut edges need to be ground off, and the holes enlarged slightly
to accept the PVC bushing.
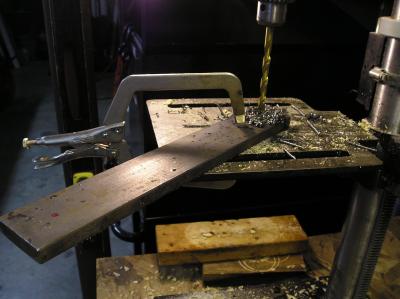 For the epizygis, the 1/2" bar was cut into lengths. The torsion arm will attach via chain-link, so
I pre-drilled each end, then used a cutting wheel to add a slot.
For the epizygis, the 1/2" bar was cut into lengths. The torsion arm will attach via chain-link, so
I pre-drilled each end, then used a cutting wheel to add a slot.
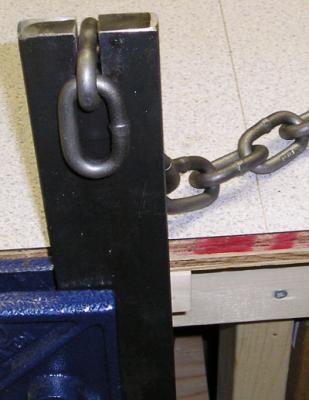 And here is a sample of the chain in the clevis.
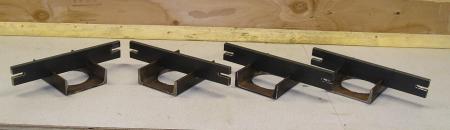 And here are the four completed parts. It took a the better part of day to perform all the tasks on the modiolus and epizygis.
Now that all the basic parts for the torsion system were made, it's time to assemble them, and wind the ballista.
 Owen added the scutulas onto the machine and laid out the 4 lag bolts that would hold the metal scutula plates onto the
frame. I used short lag screws of necessity to avoid hitting the tenons in the beams which, naturally, lined up
with the outer edges of the scutula plates.
Owen added the scutulas onto the machine and laid out the 4 lag bolts that would hold the metal scutula plates onto the
frame. I used short lag screws of necessity to avoid hitting the tenons in the beams which, naturally, lined up
with the outer edges of the scutula plates.
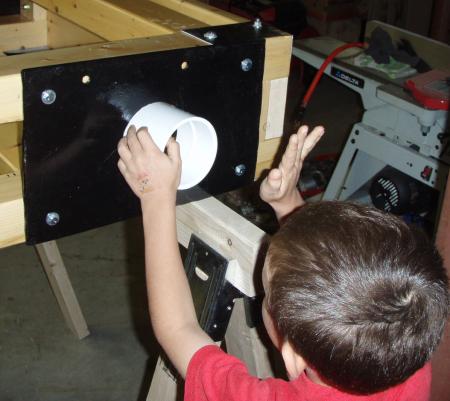 Once the scutula's were bolted into place, Owen puts the plastic sleeves into the scutulas.
This sleeve will protect the rope from the metal and wood edges, and
act as a simple bushing when twisting the modiolii.
Once the scutula's were bolted into place, Owen puts the plastic sleeves into the scutulas.
This sleeve will protect the rope from the metal and wood edges, and
act as a simple bushing when twisting the modiolii.
 Trevor walks the rope way out into the field, dividing the 400ft spool of 1/4" rope into two equal lengths for the two
sides of the ballista. We tried doing it inside, but made a really big knot instead since the kids didn't quite get what
I was trying to do.
Trevor walks the rope way out into the field, dividing the 400ft spool of 1/4" rope into two equal lengths for the two
sides of the ballista. We tried doing it inside, but made a really big knot instead since the kids didn't quite get what
I was trying to do.
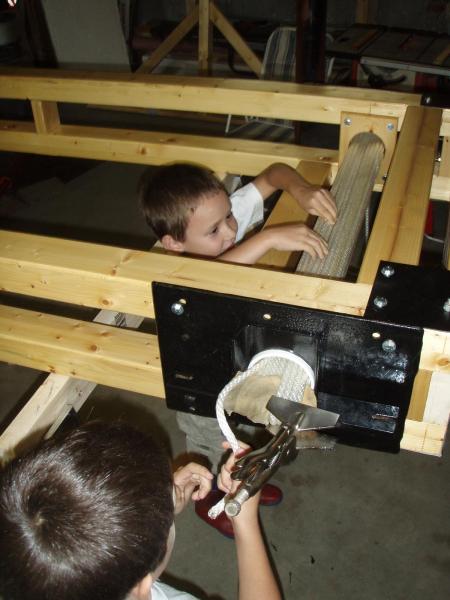 Trevor (bottom) and Owen (top) thread the 1/4 inch line through the Hatra frame on their side. We worked as a team to get the first
layer in on both sides, then Trevor and Owen raced against Dad to see who could get their rope bundle laid up first.
Handy Tip: the Vice Grip that has wide jaws is for welding, but is great for holding tension in a cord bundle while kids are
pulling the ropes through.
Trevor (bottom) and Owen (top) thread the 1/4 inch line through the Hatra frame on their side. We worked as a team to get the first
layer in on both sides, then Trevor and Owen raced against Dad to see who could get their rope bundle laid up first.
Handy Tip: the Vice Grip that has wide jaws is for welding, but is great for holding tension in a cord bundle while kids are
pulling the ropes through.
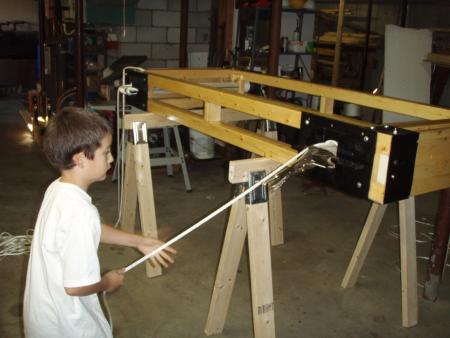 Trevor pulls the rope through hand-over hand. You can see that this time I used leather from an old leather jacket to separate
the layers. Putting a piece of cloth between layers has been recommended in the past, but this time I wanted to use more than
paper. On the other side, Dad's bundle was sitting idle while I snapped a few pictures.
Trevor pulls the rope through hand-over hand. You can see that this time I used leather from an old leather jacket to separate
the layers. Putting a piece of cloth between layers has been recommended in the past, but this time I wanted to use more than
paper. On the other side, Dad's bundle was sitting idle while I snapped a few pictures.
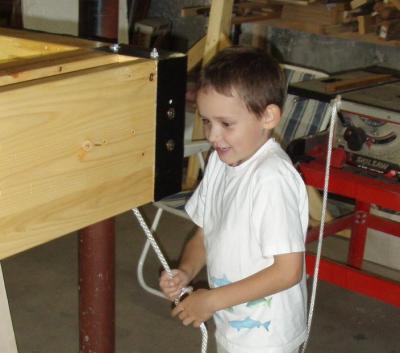 Owen pulls the rope through from the other side. He was having fun! Who'd a thunk it.
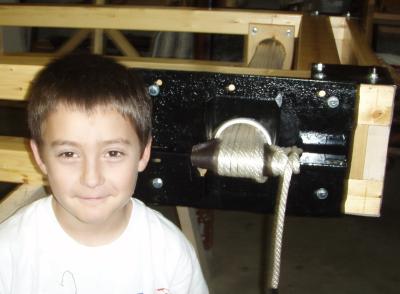 Trevor poses with a completed and tied-off rope bundle. Winding both sides as a contest took about 3 hours including setup.
The 3" bundle's aren't actually full. Another 5 or 6 wraps would probably fit through the PVC. Too bad they don't make
450' spools of 1/4 in rope.
Trevor poses with a completed and tied-off rope bundle. Winding both sides as a contest took about 3 hours including setup.
The 3" bundle's aren't actually full. Another 5 or 6 wraps would probably fit through the PVC. Too bad they don't make
450' spools of 1/4 in rope.
|
Additional Pages for Hatra Jr
|
|
Hatra Ballista Jr
|
 After building and testing Baby Hatra Ballista, it was clear this design was
worth pursuing. Eric decided we needed a mid-sized model which we could then
enter into the World Championship Punkin Chunk in the 10 and under category.
After building and testing Baby Hatra Ballista, it was clear this design was
worth pursuing. Eric decided we needed a mid-sized model which we could then
enter into the World Championship Punkin Chunk in the 10 and under category.
|
|
Hatra Ballista Jr: Spring Frame
|
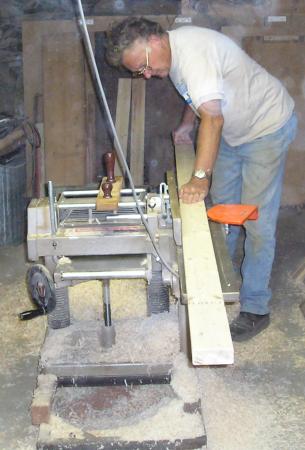 A Hatra Ballista Spring frame is a bit different from a Straight or V spring ballista.
|
|
Hatra Ballista Jr: Scapus Frame
|
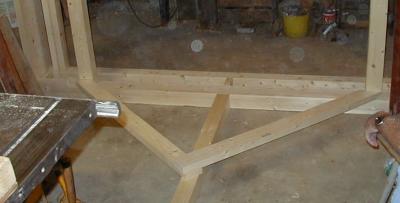 There wasn't much to go on with historical references for the Hatra Ballista, just a meta spring frame
covering, and an artist's rendition in the book
Greek and Roman Artillery 399 BC-AD 363. As such, I opted to go with a mix of
what we did with Mista Ballista in metal, or Baby Hatra Ballista.
There wasn't much to go on with historical references for the Hatra Ballista, just a meta spring frame
covering, and an artist's rendition in the book
Greek and Roman Artillery 399 BC-AD 363. As such, I opted to go with a mix of
what we did with Mista Ballista in metal, or Baby Hatra Ballista.
|
|
Hatra Ballista Jr: Torsion
|
The load bearing parts for Hatra Ballista Jr are very similar to what I made for
Onager Jr, though I've made several changes to help assist in the operation
and use of the machine.
|
|
Hatra Ballista Jr: Arms and Bowline
|
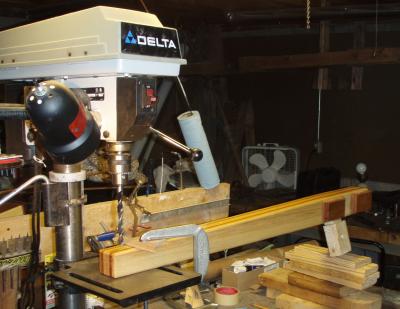 A hatra ballista has inward swinging arms that allows for 90 degree's of rotation during the throw. Our model has 3 foot long
arms. For our first year, these arms were made particularly strong.
A hatra ballista has inward swinging arms that allows for 90 degree's of rotation during the throw. Our model has 3 foot long
arms. For our first year, these arms were made particularly strong.
|
|
Hatra Ballista Jr: Deployment
|
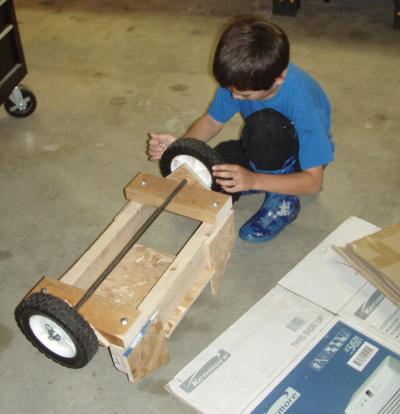 Hatra Jr is easy to deploy. That's one of the reasons it took so much extra time to build the thing.
|
|
Hatra Ballista Jr: Shooting
|
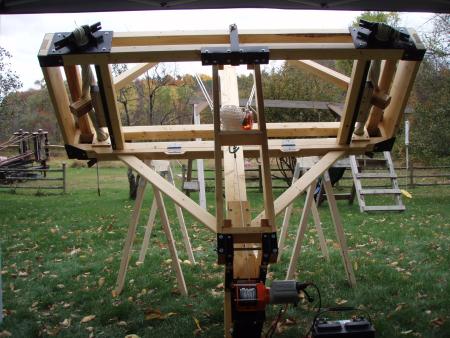 Various pictures and stories of launching Hatra Ballista Jr.
|
| 
